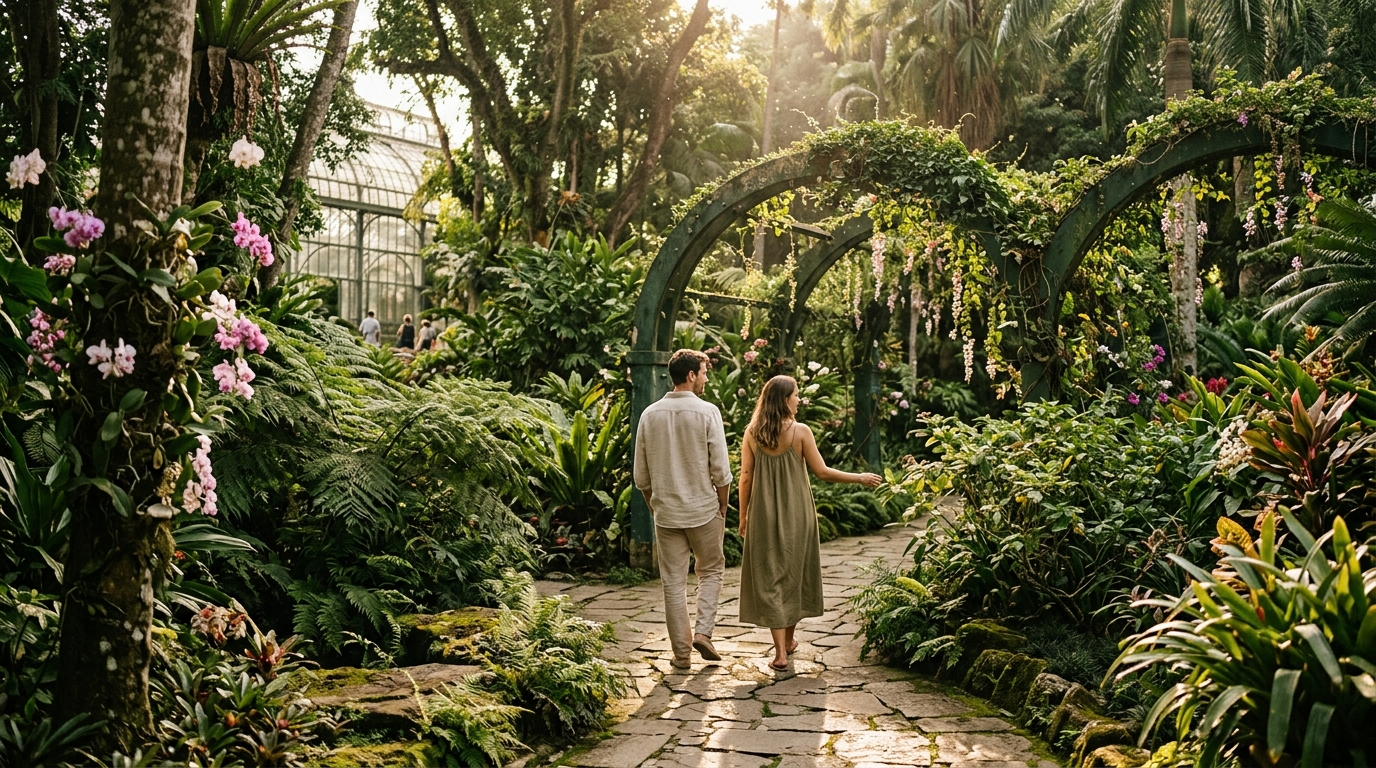
Finding low cost travel photography tips for hobby bloggers became an obsession after I spent three months carrying heavy camera gear that ruined my back and produced mediocre shots. I thought expensive lenses were the secret to stunning travel content. Looking back at my early blurry temple photos, I realized technique beats gear every single time. Here is how I shoot gorgeous blog images on a shoestring budget.
Master the Manual Camera Controls on the Phone You Already Own
Most creators assume their smartphone camera is too basic for editorial blog content. That assumption costs people thousands of dollars on mirrorless setups they rarely know how to operate. Modern smartphones boast incredible sensors, yet default automatic modes often overexpose highlights and flatten colors.
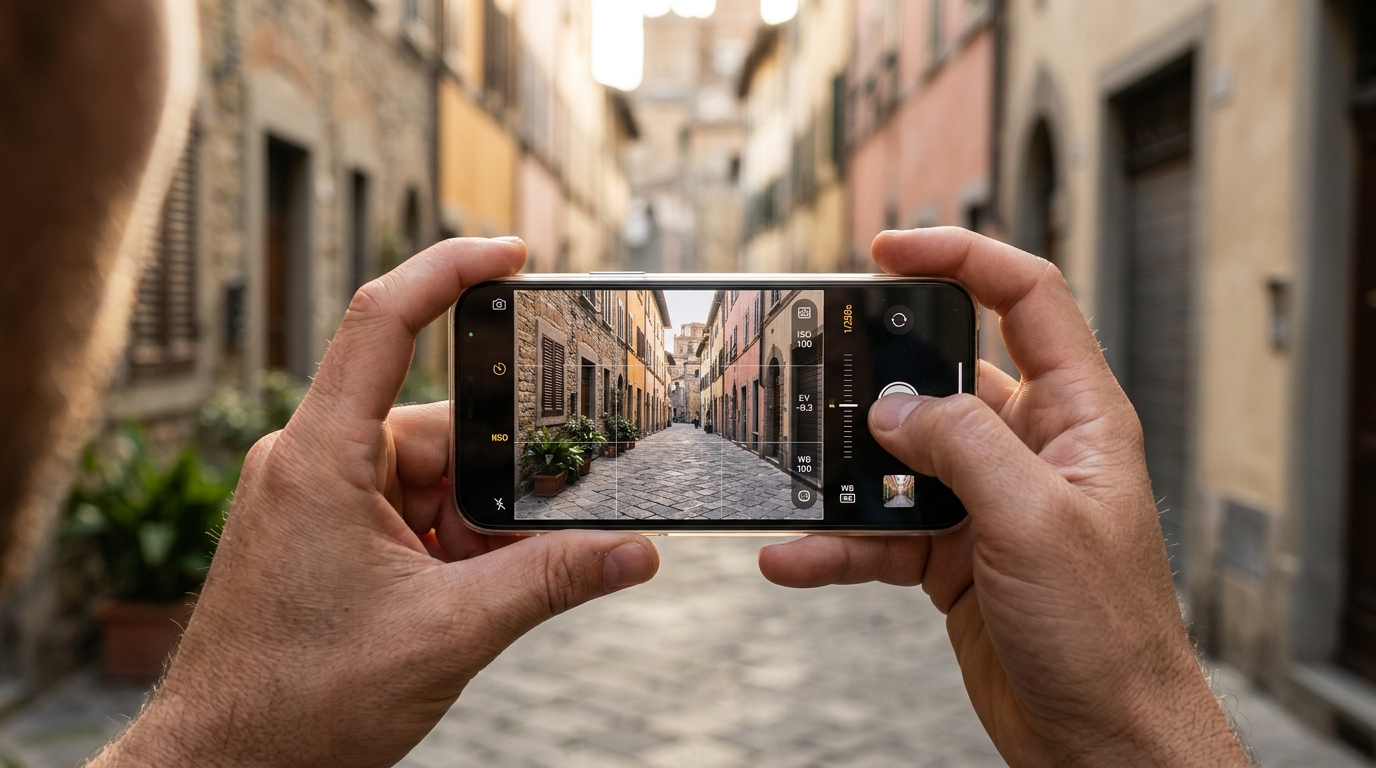
Unlocking your device starts with taking control of manual camera settings through built-in Pro modes or budget apps like ProCam and Halide. Locking your exposure by tapping and sliding down prevents blown-out skies in sunny street scenes. Lowering your ISO manually eliminates digital noise when shooting shadowy alleyways or dimly lit cafes. Shooting in RAW format rather than standard JPEG preserves the full dynamic range of your shadows and highlights for later editing.
Spend an afternoon walking around your home neighborhood practicing manual focus pulling and exposure compensation. Once you master how light interacts with your phone sensor, your travel photos will immediately look more deliberate and professional without spending a penny on new hardware.
Hunt for Natural Golden Light Instead of Expensive Lighting Gear
Carrying bulky speedlights or battery-powered LED panels slows you down and screams tourist to everyone nearby. Professional travel imagery relies on nature to do the heavy lifting. The best light of the day costs absolutely nothing and requires only an early alarm.
Setting your alarm for sunrise gives you access to soft golden hour lighting that bathes architecture and landscapes in warm, flattering tones. Early mornings also provide empty streets free of tour groups, giving you clean compositions that look like private editorial shoots. When I visited the Trevi Fountain in Rome at six in the morning, I captured pristine, empty frames while sleeping tourists missed the magic entirely.
Midday sun creates harsh, unflattering facial shadows and washes out vibrant colors. If you must shoot during noon hours, seek out open shade beneath covered porticos, tree canopies, or narrow side alleys. This diffused ambient light acts like an enormous softbox, smoothing out contrast and giving your subject photos a clean, magazine-ready appearance.
Low Cost Travel Photography Tips for Hobby Bloggers on Framing and Composition
Good composition transforms an ordinary street corner into a compelling visual story. Many beginners simply stand in the middle of the sidewalk, point their lens forward at eye level, and snap a flat photo. Strong visual balance requires thoughtful perspective and spatial awareness.
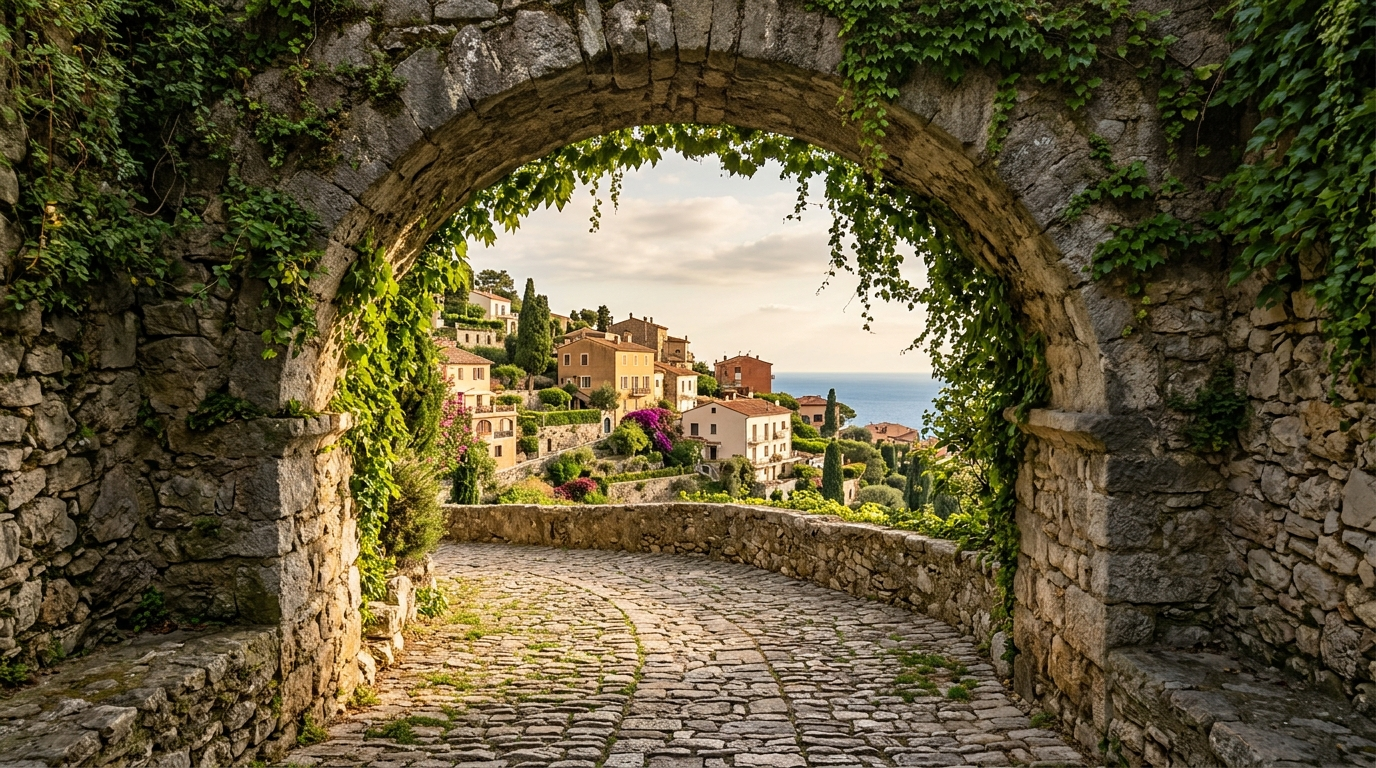
Utilize architectural elements like stone arches, hanging vines, and doorways to frame your primary subject naturally. Search for leading lines like winding cobblestone paths, train tracks, or ornate bridge railings that pull the reader’s eye directly into the heart of the frame. Dropping your camera down to knee level or holding it high above your head creates dramatic perspectives that break visual monotony.
Applying low cost travel photography tips for hobby bloggers means training your eye before touching your shutter. Turn on the three-by-three grid overlay in your camera settings to align horizons and position focal points along the grid intersections. Placing a subject off-center often creates more dynamic tension and visual interest than centering everything automatically.
Invest in Inexpensive Hardware Upgrades That Actually Make an Impact
Throwing cash at expensive camera bodies rarely fixes bad photography habits, but a few cheap physical tools make a world of difference. You can upgrade your mobile travel kit for less than the cost of a nice restaurant dinner.
A simple twelve-dollar circular polarizer filter that clips directly over your phone lens instantly cuts water glare, deepens blue skies, and boosts foliage saturation in bright daylight. Unlike software filters, an optical polarizer removes physical surface reflections that digital apps cannot fix afterward. I keep a compact clip-on filter in my daypack side pocket for beach outings and mountain hikes.
Grab a flexible tabletop tripod like a GorillaPod along with a sturdy metal phone clamp. Best Travel Activity Ideas for Blended Families with Teens.
These mini tripods wrap around bridge railings, perch on cafe tables, and steady your phone for crisp low-light night shots or silky waterfall long exposures. Keeping a microfiber cloth in your pocket is also critical. A smudge of fingerprint grease on your lens ruins more travel photos than poor lighting ever will.
Build a Free or Low-Budget Mobile Editing Workflow
Snapping the photo is only half the battle when building a captivating travel blog. Raw images straight from a sensor often look flat and muted, requiring minor adjustments to bring back the atmosphere you felt in person. You do not need a pricey desktop software subscription to produce clean, cohesive edits.
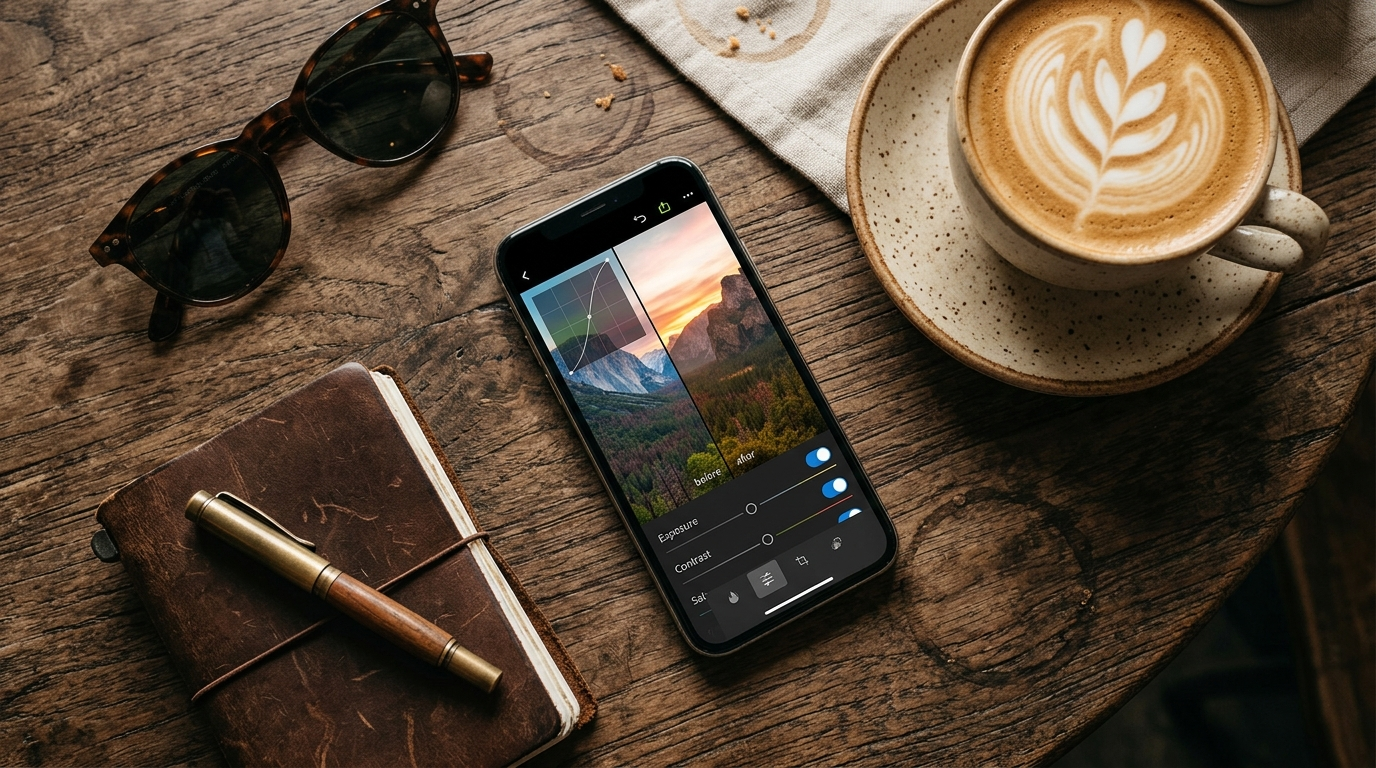
Download the free version of Adobe Lightroom Mobile or Google Snapseed onto your phone. These mobile tools offer professional color grading, selective exposure adjustments, and precise curve controls without requiring a paid subscription. Focus on bringing up the shadow detail slightly, dropping blown highlights, and adjusting the warmth to match the local climate.
Creating your own free editing presets inside Lightroom Mobile establishes a consistent aesthetic across your entire blog. Apply the same base preset to a batch of photos from the same destination, then tweak individual exposure levels to keep your gallery unified. Avoid heavy contrast or oversaturated filters, as natural, true-to-life color grading keeps your content timeless and trustworthy.
Capture Candid Street Moments and Environmental Textures
Travel blogs thrive on authentic atmosphere rather than repetitive postcard monuments. Readers want to feel the steam rising from a bowl of noodles, see the weathered patina of an antique door, and witness daily life unfold in real time.
Practice subtle environmental storytelling by documenting smaller sensory details alongside wide landscape shots. Photograph the chalk-written chalkboard menu outside a Parisian bakery, the weathered hands of an artisan weaving textiles, or the pattern of worn tiles in a train station. Combining wide scenic shots with close-up macro details creates rich, immersive blog posts that keep readers scrolling.
Keep your phone at chest level and blend into your surroundings when documenting lively street scenes. Asking permission with a polite smile and a nod before taking close portraits of local vendors respects their space and often leads to warmer, more natural expressions. Capturing authentic human energy brings life to your travel stories without costing a dime.
Organize and Back Up Your Travel Visuals on a Budget
Losing a memory card full of unique travel photos because of a dropped device or accidental deletion is a blogger’s worst nightmare. Establishing a reliable storage system while moving between destinations prevents catastrophic data loss without requiring expensive portable servers.
Establish a disciplined cloud backup workflow using existing services like Google Photos or Amazon Photos, which offers free unlimited full-resolution photo storage for Prime members. Connect your phone to hotel Wi-Fi each evening and allow your daily media library to sync automatically while you sleep.
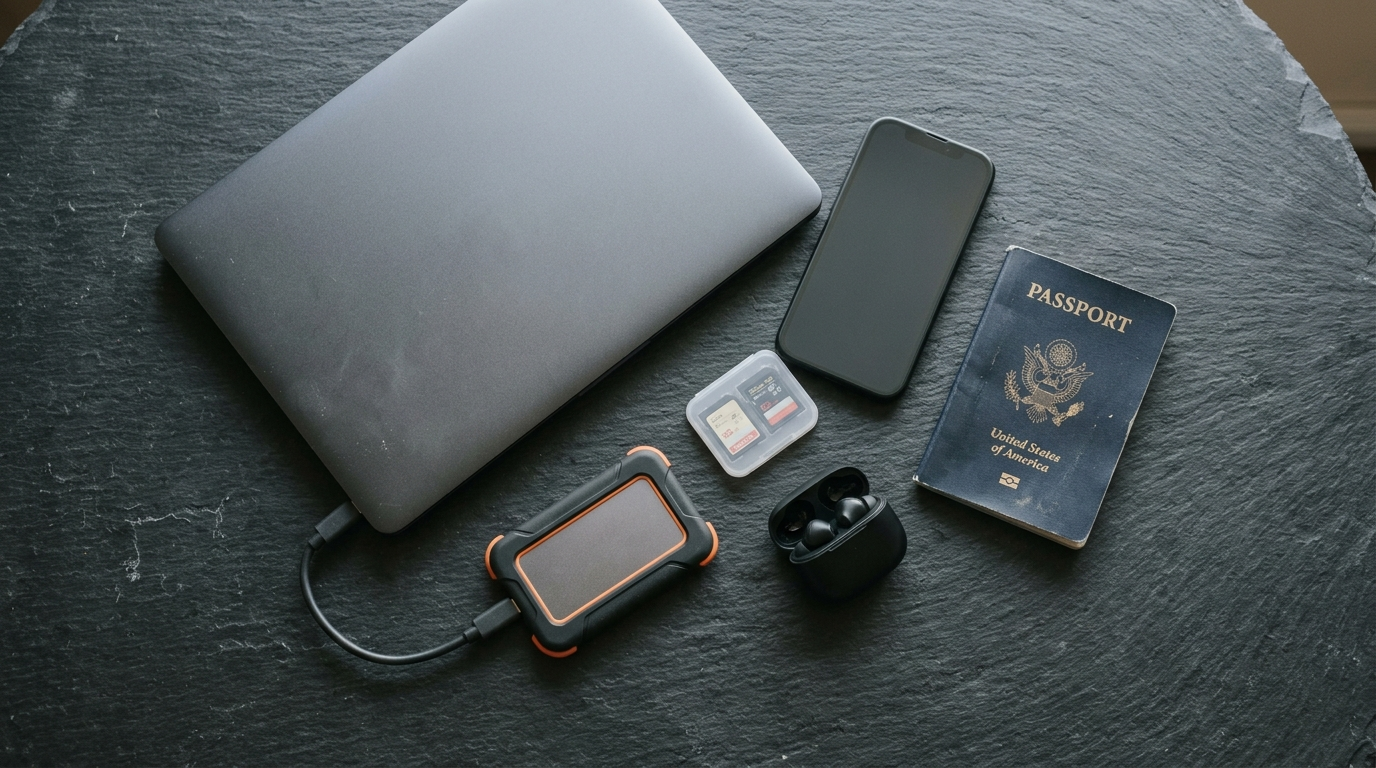
Carry a lightweight, rugged external solid-state drive with a USB-C adapter if you travel through remote regions with spotty internet connectivity. Offloading your photos directly from your phone or memory card to an external drive every two days creates an offline physical backup. IMO, having two copies of every travel image in separate bags gives you complete peace of mind on long journeys.
Curate and Optimize Your Photos for Fast Blog Page Speeds
Publishing massive, uncompressed high-resolution image files will destroy your travel blog’s loading speed and hurt your search rankings. Readers will abandon your page if image galleries take ten seconds to load on mobile connections. Optimization is where hobby bloggers often stumble after shooting great content.
Process your finished photos through image compression tools like TinyPNG or Squoosh before uploading them to your media library. Resize your horizontal photos to a maximum width of twelve hundred pixels, which is plenty of resolution for modern mobile screens and desktop monitors. Converting standard files to WebP format cuts file sizes by up to thirty percent without degrading visible sharpness.
Be ruthlessly selective during your final curation process. Including five extraordinary, well-edited photos of a historic cathedral tells a far tighter story than dumping thirty nearly identical angles into a messy gallery block. Strategic photo curation respects your readers’ attention spans and keeps your site running blazing fast.
FAQs
Do I need a DSLR camera to run a successful travel blog?
No. Modern smartphones deliver outstanding image quality for web publishing when paired with good lighting and solid composition. Many prominent travel bloggers shoot exclusively on mobile devices to travel lighter and publish faster. Focus on storytelling and lighting before investing thousands in bulky camera bodies.
What is the single best free editing app for travel photos?
Adobe Lightroom Mobile is the gold standard for mobile editing. The free version includes advanced light controls, color grading mixers, detail sharpening, and custom preset creation without requiring a Creative Cloud subscription. Snapseed is another fantastic completely free alternative with powerful localized brush tools.
Where can I find more low cost travel photography tips for hobby bloggers without buying courses?
Study professional travel magazines like National Geographic and browse community platforms like YouTube or Flickr groups for free breakdown tutorials. Analyzing why your favorite travel photographers frame their shots a certain way teaches you practical composition techniques much faster than expensive commercial classes.
How do I take sharp travel photos in low light without an expensive setup?
Stabilize your phone against a flat surface, wall, or tabletop tripod to prevent hand tremor. Use night mode or lower your shutter speed manually while keeping your ISO low to avoid digital grain. Never use the built-in digital zoom in low light, as it degrades image sharpness.
Is it worth buying clip-on smartphone lenses?
Most cheap plastic clip-on lenses create blurry edges and chromatic aberration that ruin image quality. Instead of buying cheap multi-lens kits, invest in a quality clip-on circular polarizer or a compact mobile tripod. Built-in wide and telephoto lenses on modern phones perform significantly better than cheap attachable glass.
Conclusion
Creating breathtaking travel photos for your blog comes down to creative perspective, patience, and mastering the basic gear you already carry in your pocket. Treat every journey as an opportunity to experiment with light and framing, and watch your site’s visual quality transform overnight. Which photo trick are you most excited to test out on your next trip?
One thought on “Low Cost Travel Photography Tips for Hobby Bloggers”